Our Products

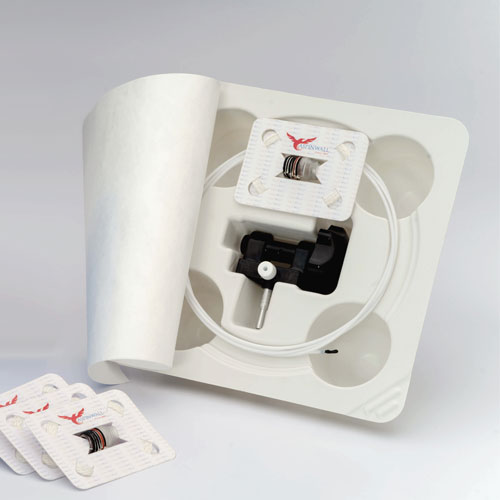
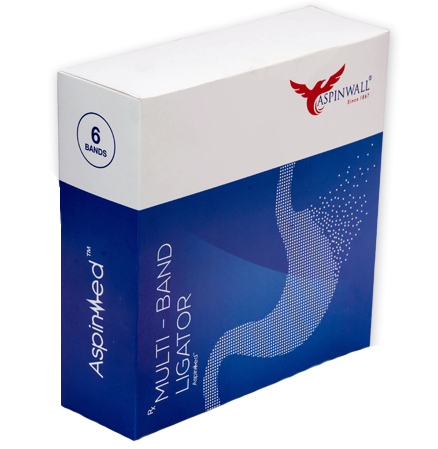
The Aspinmed multiband ligator composed of two main components

DEVICE DESCRIPTION

The ligating unit is a cylinder which fits at the distal end of the endoscope. Elastic (Latex) bands are stretched around the cylinder (barrel). The pulling loop on the ligating unit is axed to the trip wire loop of the handle unit during initial setup.
Aspinmed multiband ligator is used for endoscopic ligation of esophageal varices and anorectal hemorrhoids.
Not intended for ligation of esophageal varices below the gastro-esophageal junction.

The ligating unit is a cylinder which fits at the distal end of the endoscope. Elastic (Latex) bands are stretched around the cylinder (barrel). The pulling loop on the ligating unit is affixed to the trip wire loop of the handle unit during initial setup.

Aspinmed multiband ligator is used for endoscopic ligation of esophageal varices and anorectal hemorrhoids.
Not intended for ligation of esophageal varices below the gastro-esophageal junction.

Adverse Events

Esophageal ulceration, Esophageal obstruction, Esophageal perforation & Esophageal stricture formation.

Instruction For Ligation

With handle in the two-way position, introduce the endoscope. After intubation place the handle in the firing position. Visualize the selected varix or hemorrhoid and aspirate into the Opti-Vu barrel. Maintain suction, deploy the band by rotating the ligator handle clockwise until band release is felt. If irrigation is necessary, insert irrigation adapter into the white seal of the handle.
Handling & Storage
banner6
Rx only: Restricts this device to sale by or on the order of a Qualified medical professional

Warning

Procedure Guide - Prepration For Use

STEP 01
STEP 01

Insert the ligator handle into the endoscope accessory channel.
Note: The irrigation adapter may be used to puncture the white self-sealing valve prior to introducing the loading catheter.

STEP 02
STEP 02

The firing position allows the handle to be rotated in the forward direction only. The two-way position allows the handle to rotate in both directions.

STEP 03
STEP 03

Introduce either end of the loading catheter through the white seal in the ligator handle and advance, in short increments, until it exits the tip of the endoscope.

STEP 04
STEP 04

Attach the trigger cord, leaving approximately 2 cm of cord between the knot and the hook. Withdraw the loading catheter and trigger cord up through the endoscope and out through the ligator handle.

STEP 05
STEP 05

Secure friction fit adapter of the barrel to the tip of the endoscope, advance as far as possible.
Note: Failure to do so may result in barrel dislodgement. Avoid bands while pushing. When placing the barrel onto the distal end of the endoscope, ensure trigger cord does not become pinched between the barrel and endoscope.

STEP 06
STEP 06

Place the trigger cord into the slot on the spool of the ligator handle and pull down until the knot is seated in the hole of the slot. The knot must be seated into the hole for the handle to function properly.

STEP 07
STEP 07

With the handle in the two-way position, slowly rotate the handle clockwise to wind the trigger cord onto the handle spool.